 Aussie AutoGlass
 - December 11, 2023
- By 60 Minute Website Challenge
- In windscreen replacement, windshield repair near me
- Tags windscreen expert, windscreen repair, WINDSCREEN REPLACEMENT
- 2
- 0


Imagine driving down a scenic road, the wind in your hair, and your favorite playlist blasting through the speakers. Suddenly, out of nowhere, a small pebble propelled by the vehicle in front of you hits your windshield with a loud crack. You grimace at the sight of the spiderweb-like pattern spreading across the glass. While it’s frustrating, it’s also an opportunity to learn a valuable skill – the art of windscreen replacement. In this ultimate guide, we will dive deep into the world of windscreen replacement, equipping you with the knowledge and expertise to become an expert in this field. Whether you’re looking to save money on costly repairs, start a new business venture, or simply develop a new handy skill, mastering the art of windscreen replacement is a worthwhile endeavor. Replacing a windscreen may seem like a daunting task, but fear not! Throughout this comprehensive guide, we will walk you through all the necessary steps, techniques, and tips to ensure a successful replacement every time. So, if you’re ready to take control of your own vehicle maintenance and become a windscreen replacement expert, buckle up and let’s get started on this exciting journey.
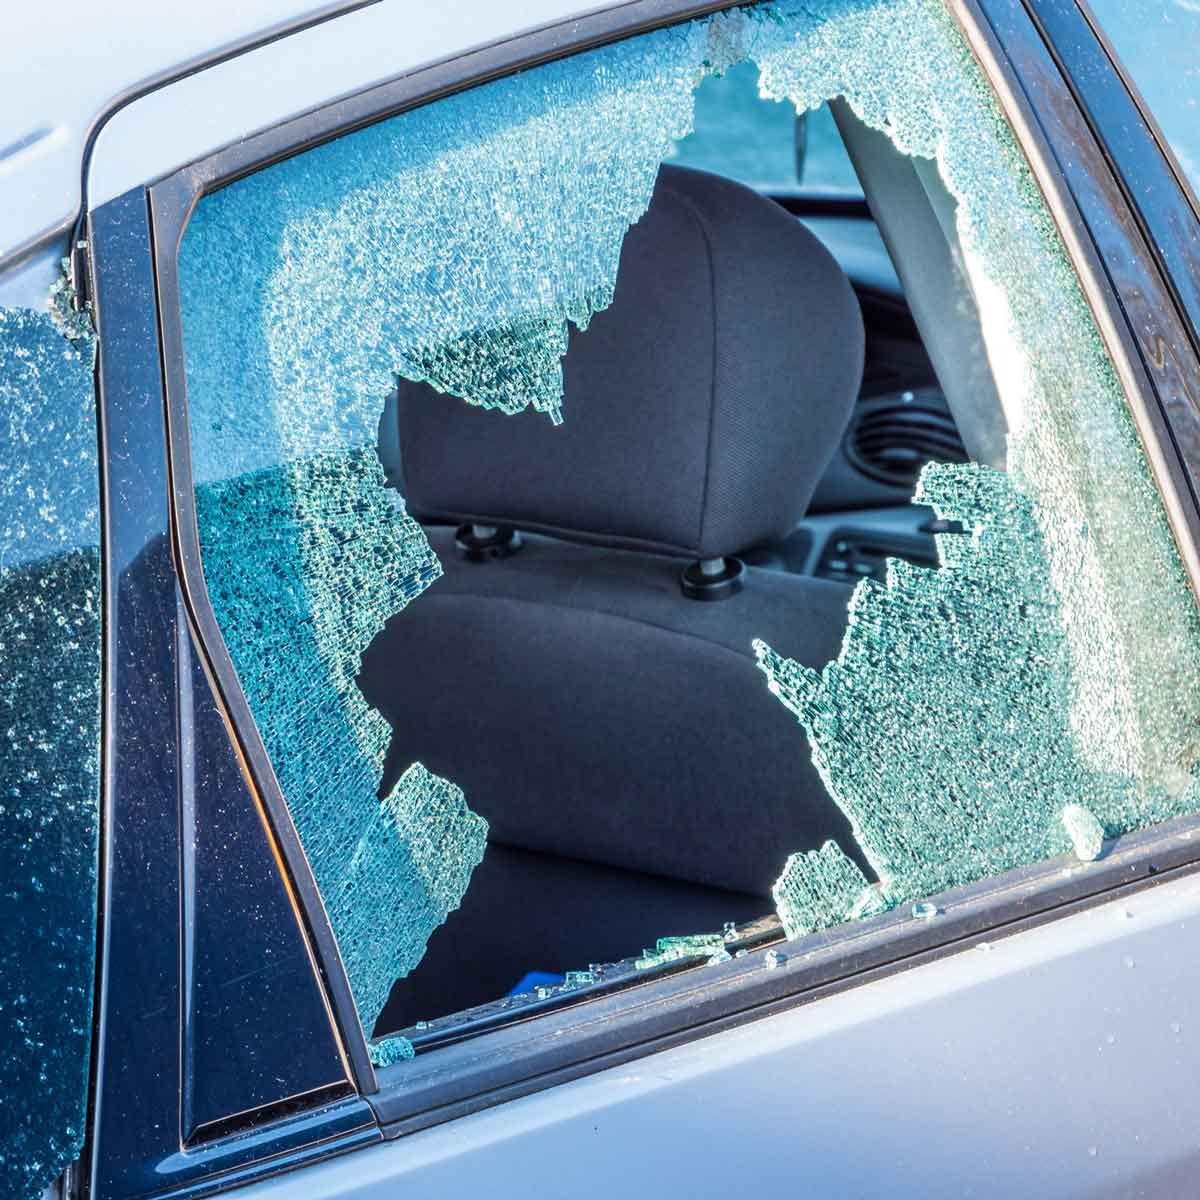
Before diving into the process of windscreen replacement, it’s important to understand the causes and types of windscreen damage. Windshields are exposed to various elements that can lead to cracks, chips, or complete shattering. One of the most common causes is road debris, such as rocks or gravel, that get kicked up by other vehicles. Extreme weather conditions like hailstorms or heavy winds can also cause damage.
When it comes to types of windscreen damage, there are several to be aware of. The most common is a chip, which occurs when a small piece of the glass is chipped off due to impact. Cracks can also occur and vary in size and shape. These can be caused by a single impact or develop over time from an existing chip. It’s important to assess the extent of the damage before proceeding with any repairs or replacements.

Once you’ve identified windscreen damage, it’s crucial to assess whether you should tackle the replacement yourself or seek professional help. Minor chips or cracks that are smaller than a dollar bill can often be repaired using DIY kits available in auto supply stores. However, if the damage is extensive or obstructs your vision while driving, it’s best to consult a professional.
A professional windscreen replacement technician has the expertise and tools necessary for a seamless replacement job. They will ensure that all safety precautions are taken and that your new windscreen fits perfectly without any leaks or issues. While DIY repairs may seem cost-effective initially, they can lead to further complications if not done correctly.
If you’ve decided to take on the challenge of replacing your windscreen yourself, it’s essential to gather all the necessary tools and materials beforehand. This will ensure a smooth and efficient process. Here are some of the items you’ll need:

Prior to removing the damaged windscreen, it’s crucial to prepare your vehicle and create a safe work environment. Start by parking your car in a well-ventilated area away from direct sunlight. This will prevent any adhesive or cleaning solutions from drying too quickly.
Cover the interior of your vehicle with a protective tarp or blanket to prevent any debris or glass shards from causing further damage. Additionally, put on gloves and safety glasses to protect yourself from potential injuries during the replacement process.
The first step in replacing a windscreen is removing the damaged one. Follow these steps for a successful removal:
Now that you’ve successfully removed the damaged windscreen, it’s time to install the new one. Follow these tips for a perfect fit:
The key to a successful windscreen replacement lies in ensuring proper adhesion. Here are some tips for using the right adhesive and techniques:
Once the new windscreen is securely in place, it’s time for some final touches and cleaning. Follow these steps for a polished finish:
Safety should always be a top priority when working with automotive glass. Here are some safety precautions to keep in mind during windscreen replacement:
Mastering the art of windscreen replacement is a valuable skill that can save you time and money in the long run. Whether you choose to tackle the replacement yourself or seek professional help, understanding the process and techniques involved empowers you as a vehicle owner.
Remember to prioritize safety throughout each step and invest in high-quality materials for a durable and long-lasting windscreen. By following this ultimate guide, you’ll be well on your way to becoming a windscreen replacement expert.
If you’re looking for expert guidance and assistance in your windscreen replacement journey, OZ autoglass is here to help. With their extensive experience and knowledge in automotive glass installations, they can provide valuable insights and support every step of the way.
Don’t hesitate to reach out to OZ autoglass for all your windscreen replacement needs. They’ll guide you through the process, ensuring a seamless installation that meets all safety standards.
Book your appointment now and get 10% discount.
And give us google 5 Stars feedback and get a free drink on us.
MAKE APPOINTMENT


