 Aussie AutoGlass
 - January 12, 2023
- By feng gao
- In Uncategorized, windscreens-tinting
- Tags repair near me
- 33
- 0
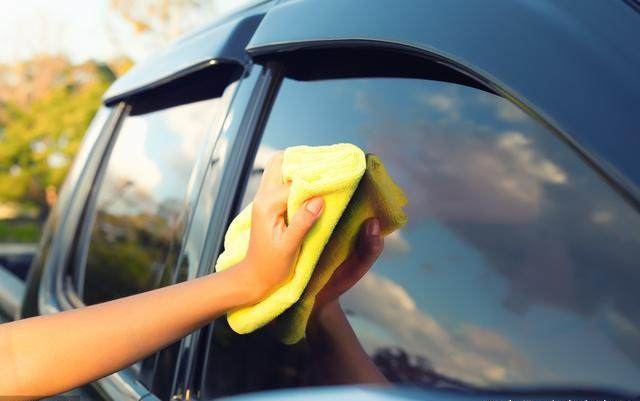
Aussie Auto-glass(https://ozautoglass.com.au), one of the best leading auto glass replacement company in Sydney, which is located at 813 princes highway in Tempe.
1.Cutting and Measuring Your Tint.Spray the outside of the window with soapy water. The water will help the tinting temporarily adhere, but still make it slippery enough to slide around and put into place.
2.Place the tinting over the outside of the window so that it covers the entire window. Unroll your tinting so that it covers the entire window, with at least 2-3″ of extra tinting over the edges. The liner (the part that will later adhere to the window), should be facing you.
•Make sure you do not remove the liner — you’re just sizing and pressing the tinting right now, now adhering it.
•The simplest method for sizing the tinting is to place it over the outside of the window. You’ll cut the correct size, and then you move the tinting to the inside for adhesion. Make sure you’re sizing the tinting in reverse. Tinting only has one usable side, so you need to size and cut the tinting in the opposite direction so that it fits properly on the inside.
3.Cut away a manageable slab of tinting. You should have a few inches of extra tint in every direction, but you don’t want to be maneuvering the entire roll of film while working. Use a precision knife or blade to cut a usable square of tinting film from the larger role.
4.Spray the front of the film with water. Once the tint is cut into a square, it should stick to the water on the outside of the window. You should then spray the tint itself so that the entire thing is covered in a thin layer of soapy water. knife or blade to cut a usable square of tinting film from the larger role.
5.Take your knife and cut along the bottom and left edges of the window. Simply use the edges of the window to trace your knife across the tinting film. You want a perfectly shaped line to ensure the tint fits. When done, two of the edges should fit perfectly, and the rest should still be square.
•As you cut, use the squeegee or your free hand to make sure the film is flush with the window.
•When done, cut the excess film away and discard.
6.Pull the film 1″ towards the left edge. You want to shift the film towards the edge you just cut. This ensures that you have enough tint to cover every edge of the window, including the part covered by the seal.
7.Aussie Auto-glass(https://ozautoglass.com.au)near you.Cut the right edge, then slide the tint halfway back towards the center. Once you slice the right edge off, pull the tint partially back to the center, so that there is roughly 1/2″ of extra tinting film on either side of the window.
8.Pull the film down roughly one inch, so the bottom edge is lower than the window. This is the tint that will eventually go into the door, allowing you a better light seal. Slide it down and then use the squeegee to flatten it again. You’ll be doing the same thing you just did with the right and left side on the top and bottom edges.
9.Lower the window a half inch, then use the top of the window to cut the film to shape. Once the window is lowered, you can use this top edge of the window as your guide. Use the precision knife to cut right to the top of the window. When done, pull the tint back towards the center. You should have roughly 1/2″ of extra film on every side of the window.
10.Clean up any of the corners that have excess film. When cutting away, the corners may have bits and pieces of extra film in the corners. Use your knife to clean it all up.
11.Realign your film so that it fits the window perfectly, with some excess on every edge. You may need to reapply water to make it stick. If so, remove the cut tint, spray some more soapy water, and reapply the film to the window.
12.Working from the top down, use a heat gun and a hard card to push the bubbles to the bottom. Get out all the air and water by working from the top downward. Smooth the entire film out on the outside of the window. As you push to the bottom, you’ll see zig-zagging from the “fingers” of air still stuck in the film. This is a good sign. Keep pushing downward, then run the heat gun along the bottom of the window to make sure it is all dried out.
•You can leave the tint stuck to the outside of the window now. You’ll have to prep the inside window a bit more, so this is a good place to ensure that the tint stays dust free.
Aussie Auto-glass(https://ozautoglass.com.au),With our highly trained team, we are able to provide you with professional windscreen replacement service and satisfied customer service.
Book your appointment now and get 10% discount.
And give us google 5 Stars feedback and get a free drink on us.
MAKE APPOINTMENT


