 Aussie AutoGlass
- August 4, 2025
- By lingquqing
- In Mobile windscreen replacement in Blacktown, Service Areas, windscreen maintenance
- Tags glass repair, repair near me
- 503
- 0

We’ve all been there: cruising down the highway when suddenly, with an almost inaudible ‘thwack,’ a tiny stone strikes your windscreen, leaving behind a small but concerning chip. It’s a moment that can quickly turn from a minor nuisance into a costly repair if ignored. Many drivers feel their stomachs drop at this sight, imagining lengthy visits to the repair shop and hefty bills. But what if the solution to repair chipped windscreen damage is simpler and more accessible than you think?
Imagine tackling that unsightly chip in your windscreen right in your own garage, without the need for specialized tools or hours of work. With the right guidance and a few essential tips, even the least mechanically inclined amongst us can manage this task. Our blog will walk you through easy and effective methods to address those chips, providing the confidence and know-how to make your windscreen look as good as new. Transform the way you handle these road mishaps with our straightforward solutions and start driving with clarity once again.

When you notice the first sign of a chip or crack on your windshield, acting swiftly can save you both time and money. Chips in your windscreen may seem harmless at first glance, but they can quickly morph into larger cracks due to temperature fluctuations, road vibrations, or even minor bumps. By choosing to repair chipped windscreen areas as soon as possible, you prevent the damage from spreading, which often converts a simple fix into a full windshield replacement.
Beyond cost savings, there’s a significant safety aspect to consider. A compromised windscreen can impair your visibility and reduce the structural integrity of your vehicle. In the event of a collision or rollover, a weakened windscreen may shatter more easily, increasing the risk of injury. Additionally, many regions have legal requirements regarding windshield damage; driving with an untreated chip could result in fines or failed inspections. Prompt repair isn’t just convenient—it’s a crucial step in maintaining safe driving conditions and avoiding unexpected expenses down the road.

Before you dive into any DIY repair, it’s essential to evaluate the type and extent of the damage. Windscreen chips come in various shapes—bullseyes, star breaks, pits, and edge cracks—and knowing which category your chip falls into will determine if it’s repairable. As a general guideline, most chips smaller than a 20-cent coin and cracks shorter than a few inches are good candidates for at-home repair kits.
Carefully inspect the area: look for branching cracks, deep gouges, or damage that reaches the edge of the glass. If you notice spidering patterns or multiple impact points, it may be best to seek professional help. Use a clean, lint-free cloth to gently dry the surface and shine a flashlight through the glass to spot hidden fractures. This quick assessment helps you decide whether a simple DIY resin application will suffice or if you need a specialist to ensure your windscreen remains safe and fully functional.
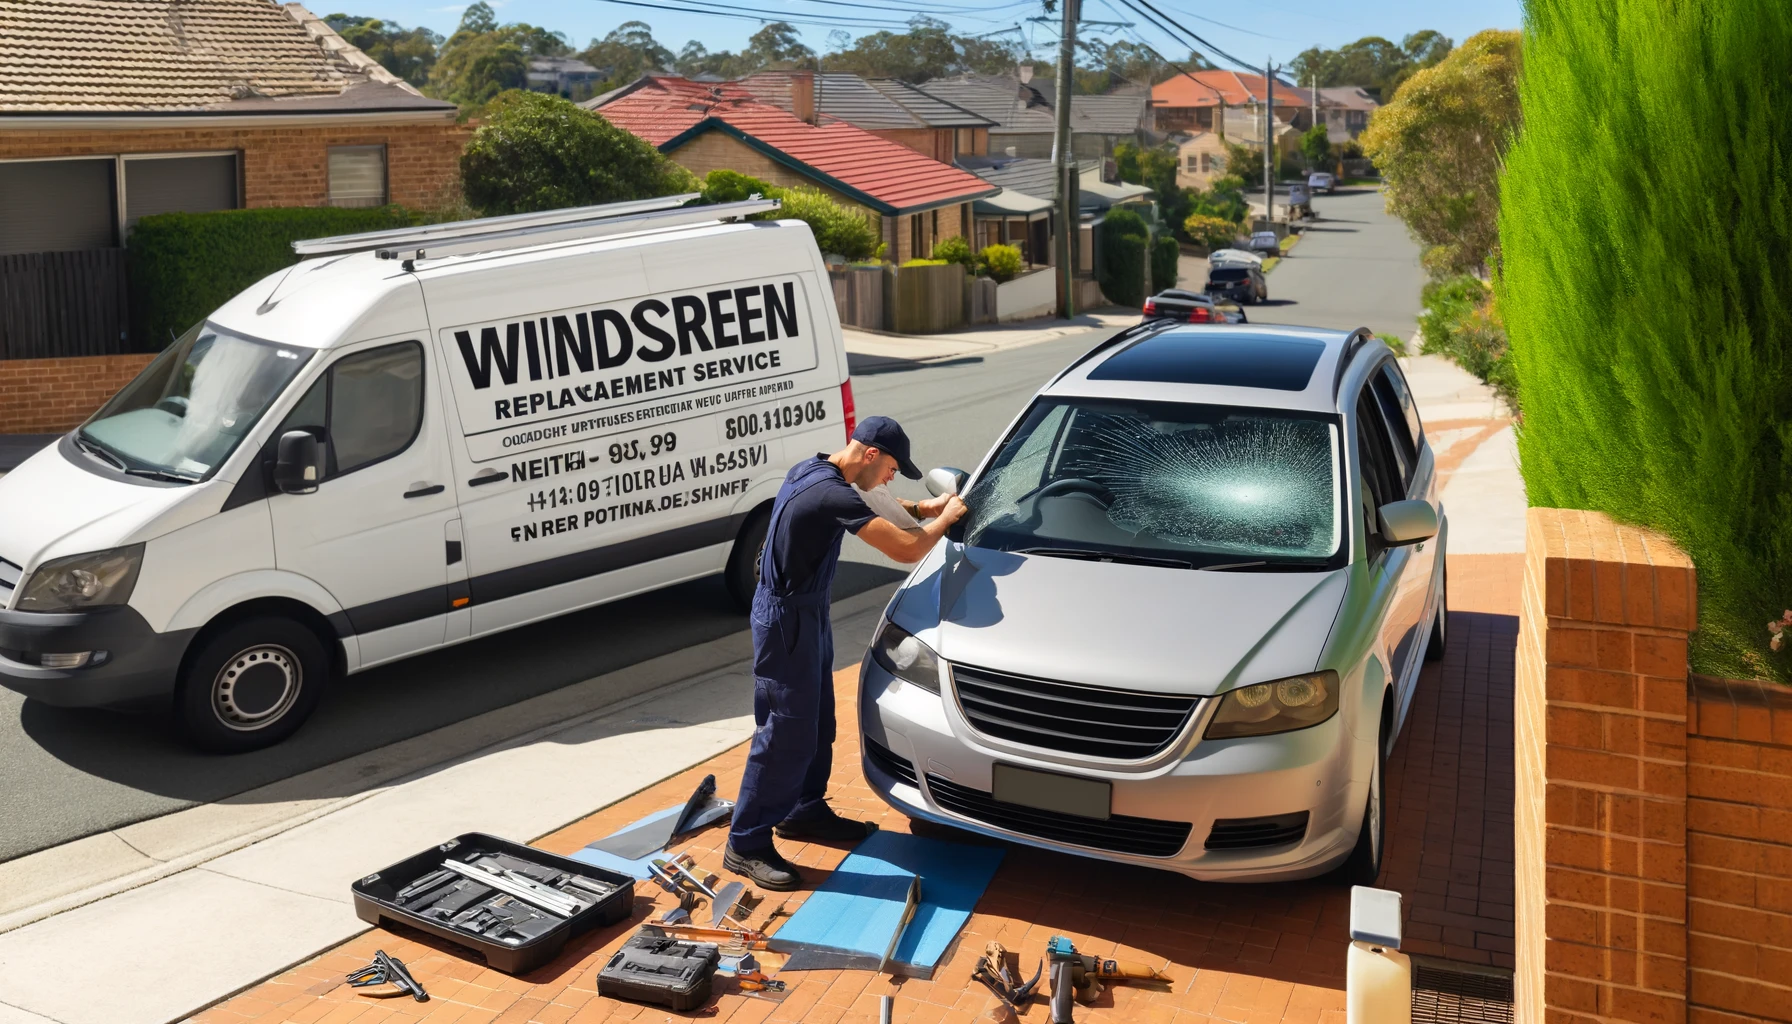
A successful DIY repair starts with having the right kit on hand. Most repair kits designed for homeowners include a syringe or injector, resin, curing strips, a pedestal or suction cup mount, and a razor blade. You’ll also want a clean microfiber cloth, isopropyl alcohol for surface preparation, and safety gear such as nitrile gloves and eye protection. Investing in a quality kit makes all the difference; inexpensive alternatives may not bond as well or could leave unsightly residue.
Check that your resin is fresh—expired products can lead to weak bonding or incomplete curing. If you don’t already have a UV lamp, consider using direct sunlight as an alternative, provided your workspace allows for consistent exposure. A small mirror can help you inspect the underside of the chip for trapped bubbles. By taking a few extra minutes to organize these materials before you start, you’ll streamline the repair process and increase your chances of a crystal-clear finish.
Proper surface preparation is vital for the resin to adhere effectively. Begin by parking your vehicle in a shaded, dust-free area to prevent debris from settling on the wet resin. Use isopropyl alcohol and a lint-free cloth to thoroughly clean around the chip, removing any dirt, grease, or loose glass shards. For stubborn grime, a gentle glass cleaner can be applied, but ensure no residue remains afterward.
After cleaning, allow the area to air dry for several minutes. Avoid touching the chip with your fingers, as oils from your skin can interfere with adhesion. If you spot any remaining debris in the impact zone, use a soft brush or canned air to dislodge it. A spotless surface not only ensures optimal bonding of the repair resin but also prevents tiny particles from becoming permanently sealed under the resin, which would mar the final appearance.
With your tools in place and the surface prepped, it’s time to inject the resin. Assemble the pedestal or suction cup over the chip, aligning it so the injector will feed directly into the damaged zone. Slowly dispense the resin, allowing it to fill the crater completely. Patience is key—rushing this step can trap air bubbles, which compromise both the strength and clarity of the repair.
If bubbles do form, gently tap the base of the mount to coax them toward the surface, then add a bit more resin to replace any that escapes. Once you’re confident the resin has filled every cavity, place a curing strip over the area to flatten the resin and protect it from contaminants. Smooth out any excess material with a razor blade drawn carefully across the glass. This precise technique ensures a flush finish and minimizes the need for extensive polishing later on.
Depending on the type of resin and light source, curing can take anywhere from five to twenty minutes. If you’re using natural sunlight, position the vehicle so the chip receives direct rays without shadows. For UV lamps, follow the manufacturer’s recommended distance and exposure time. Proper curing is essential; under-cured resin remains tacky and weak, while over-exposure can cause discoloration.
Once the resin has hardened, peel away the curing strip and use a razor blade held at a low angle to shave off any excess. Finally, buff the area with a soft microfiber cloth to restore lustre and clarity. The repaired chip should now be nearly invisible to the naked eye, and the windshield’s structural integrity fully reinstated. A well-executed finish not only looks professional but also ensures the longevity of the repair.
After curing and finishing, inspect the repair from multiple angles—inside and outside the vehicle, under bright light and in shadow. Look for trapped bubbles, resin voids, or uneven edges. Shine a flashlight through the windscreen to detect any lingering imperfections or small cracks that may require a second pass of resin.
If you notice any minor flaws, repeat the application process on those spots: clean, apply a thin layer of resin, cure, and polish. Only when the surface feels smooth to the touch and appears clear from all vantage points should you consider the job complete. A thorough quality check ensures that your repair will hold up against the elements and road vibrations, giving you peace of mind every time you hit the road.
While you can’t control every pebble kicked up by passing vehicles, there are steps to minimize the risk of future windscreen damage. Maintaining a safe following distance—at least two car lengths behind trucks and heavy vehicles—reduces the chance of stones hitting your glass. When parking, choose covered spots or garages to shield your vehicle from hail, falling debris, or stray gravel.
Consider applying a clear protective film or ceramic coating to your windscreen; these treatments add an extra layer of impact resistance and make small chips far easier to repair. Regularly inspect your windshield for tiny pits before they grow, and address them promptly. By combining safe driving habits with protective measures, you’ll greatly lessen the likelihood of repeats and keep your windshield in top condition.
DIY repair kits offer convenience and cost savings, but they have limitations. Home repairs are best suited for small, shallow chips located centrally on the windshield. If the damage is near the edge, covers a large area, or shows branching cracks, a professional technician’s tools and experience will yield a more reliable result. Pros use high-grade resins, vacuum systems to remove all air, and controlled curing environments.
That said, professional repairs usually cost more and may require scheduling an appointment. If your schedule is tight and the chip meets DIY guidelines, a home kit can provide a near-instant fix at a fraction of the price. Ultimately, weigh the severity and location of the damage, your comfort level with the process, and budget constraints. In many cases, a hybrid approach—starting with a DIY attempt and consulting an expert if issues arise—delivers both convenience and peace of mind.
Tackling windshield chips yourself can be both empowering and cost-effective. By understanding the importance of swift action, assessing the damage accurately, and following the correct repair steps, you’ll restore clarity and safety to your vehicle in no time.
Whether you choose a DIY kit or seek professional help, prompt attention to chips prevents them from growing into costly headaches. Keep these guidelines in mind next time you face a chip, and drive with the confidence that your windscreen is as sturdy and clear as the day it was installed.
Book your appointment now and get 10% discount.
And give us google 5 Stars feedback and get a free drink on us.
MAKE APPOINTMENT


